


How to Prevent Metal Warping While Welding
August 14, 2026
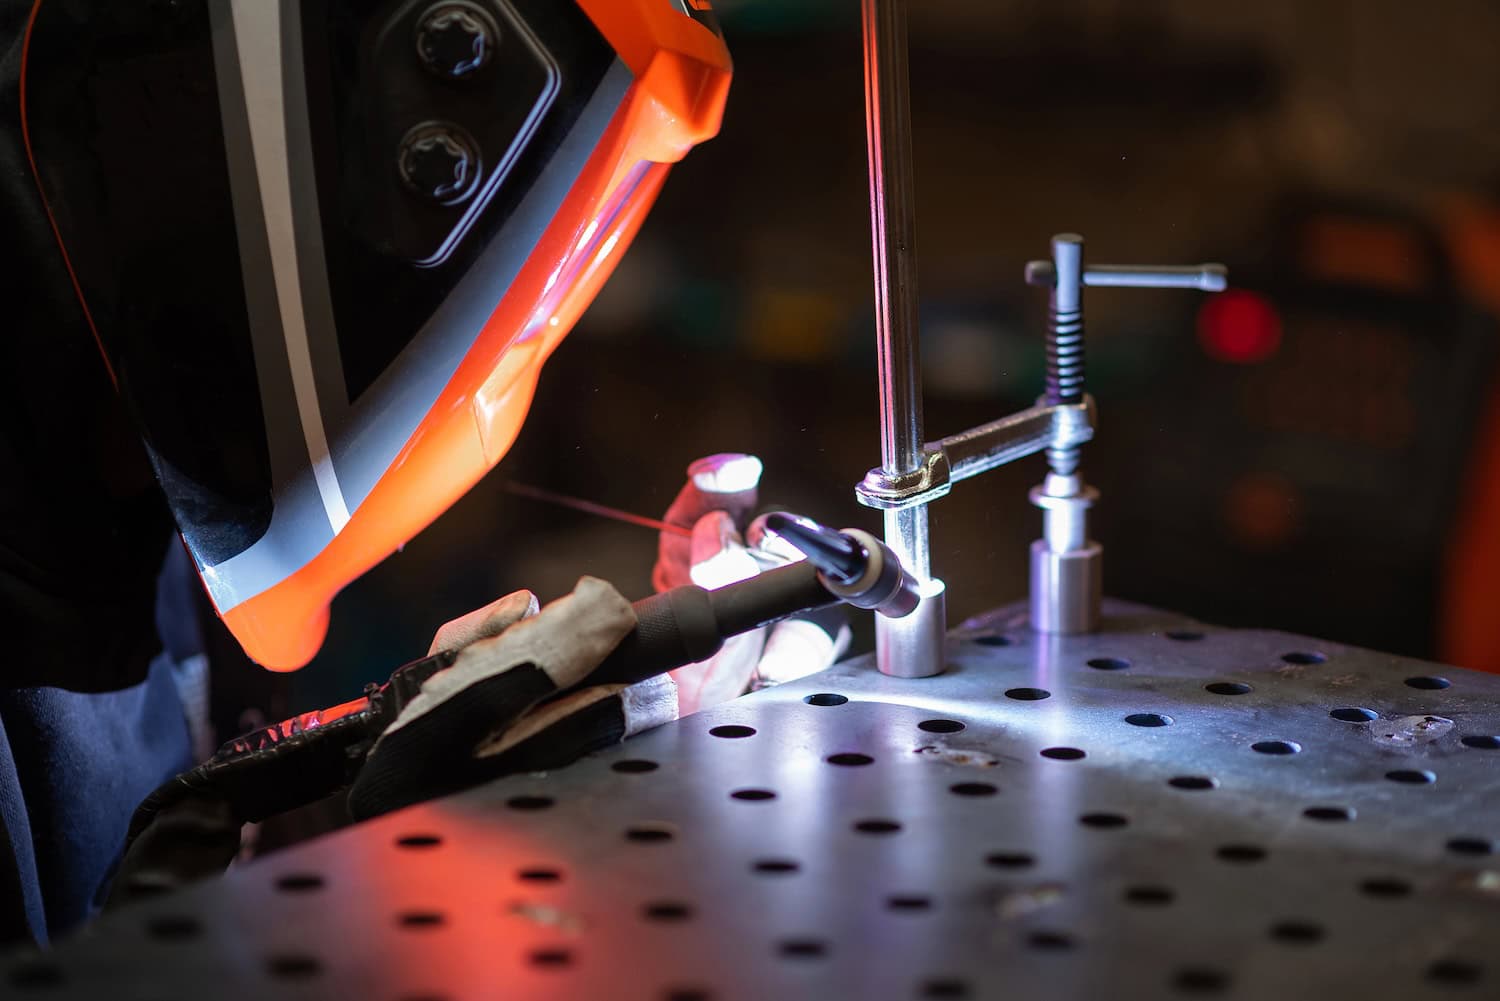
Warping is one of the most frustrating things in welding. You lay down a clean bead, step back, and watch a flat panel curl or a square frame pull out of shape. The good news is that warping is predictable, and once you understand why it happens, you can head most of it off before you ever strike an arc. Here is what causes it and the practical ways to keep your work flat and true.
Why Metal Warps
Warping comes down to heat. When you weld, you heat a small area to a very high temperature while the metal around it stays cool. The hot metal wants to expand, but the cool metal around it holds it in place. As the weld cools and shrinks, it pulls the surrounding metal with it. That uneven expansion and contraction is what bends, curls, or twists the part. Thinner material warps more easily than thick, because it has less mass to resist the pull.
The whole game, then, is managing heat. Less heat in the part, and heat spread more evenly, means less distortion.
Do Not Overweld
The single most common cause of warping is simply putting down more weld than the joint needs. A bigger weld means more heat and more shrinkage. Size your weld to the strength the joint actually requires, not bigger. A weld that is larger than the design calls for adds distortion and wastes wire and time for no benefit.
Control Your Heat Input
Every bit of heat you can keep out of the part is distortion you avoid.
- Use the lowest amperage that still gives you good fusion.
- Keep your travel speed up so heat does not pile up in one spot.
- Use stitch or intermittent welds instead of one long continuous bead where the design allows.
- Let the part cool between passes rather than racing from one weld to the next.
Faster, cooler, and more spread out beats slow and hot every time when your goal is a flat part.
Tack, Clamp, and Fixture
Restraint is your friend. Tack welds hold the pieces in position and resist the pull of the cooling weld, so space your tacks out along the joint before you run the final bead. For anything that has to stay dead flat or square, clamp it down or set it in a fixture or jig so the metal cannot move as it heats and cools. Strongbacks, which are temporary braces welded across a joint, do the same job on larger assemblies.
Balance and Sequence Your Welds
Where and in what order you weld matters as much as how much. A few proven techniques:
- Backstep welding: lay short beads that each run backward against your overall direction of travel. The already-shrunk sections pull against the next, canceling out much of the movement.
- Skip or wandering sequence: place short welds spaced apart, then fill the gaps, instead of welding straight down the joint. This spreads heat around rather than dumping it all in one line.
- Balance welds around the center: on a joint that will be welded from both sides, alternate sides so the shrinkage forces offset each other instead of pulling the part one way.
Use Heat Sinks and Presetting
A heat sink gives welding heat somewhere to go besides your part. The most common is a chill bar, a block of copper or aluminum clamped near the weld that pulls heat out of the base metal and limits how far it spreads. On thin material especially, this can be the difference between flat and rippled. Presetting is another trick: bend or angle the parts slightly opposite the expected distortion before welding, so that when the weld pulls them, they move into the correct position rather than out of it. It takes a little experience to judge, but it works.
Set Yourself Up for Success
You can avoid most warping with a few simple habits. Use less heat, do not overweld, clamp the part down, and space out your welds. None of it is complicated once it becomes part of how you work. Build those into your routine, and you will have far less distortion to deal with, and a lot less straightening to do after the fact.
Join Our Newsletter
Sign up for our newsletter to receive specials offers, product updates, and more!
Recent Posts
-
What’s Actually Happening in the Weld Pool?
September 2, 2026
-
Why “More Heat” Isn’t Always the Right Answer
August 19, 2026
-
What’s the Difference Between Pulsed MIG and Standard MIG?
August 10, 2026