

A Simple Guide to Welding Heat Input
July 1, 2026
Heat input gets talked about a lot in welding, but it is one of those topics that can feel more complicated than it needs to be. Whether you are working off a welding procedure specification or just trying to figure out why your welds keep cracking or warping, understanding heat input gives you a clearer picture of what is actually happening in the joint.
This post breaks it down in plain terms: what heat input is, why it matters, how to calculate it, and how to control it on the job.
What Heat Input Actually Means
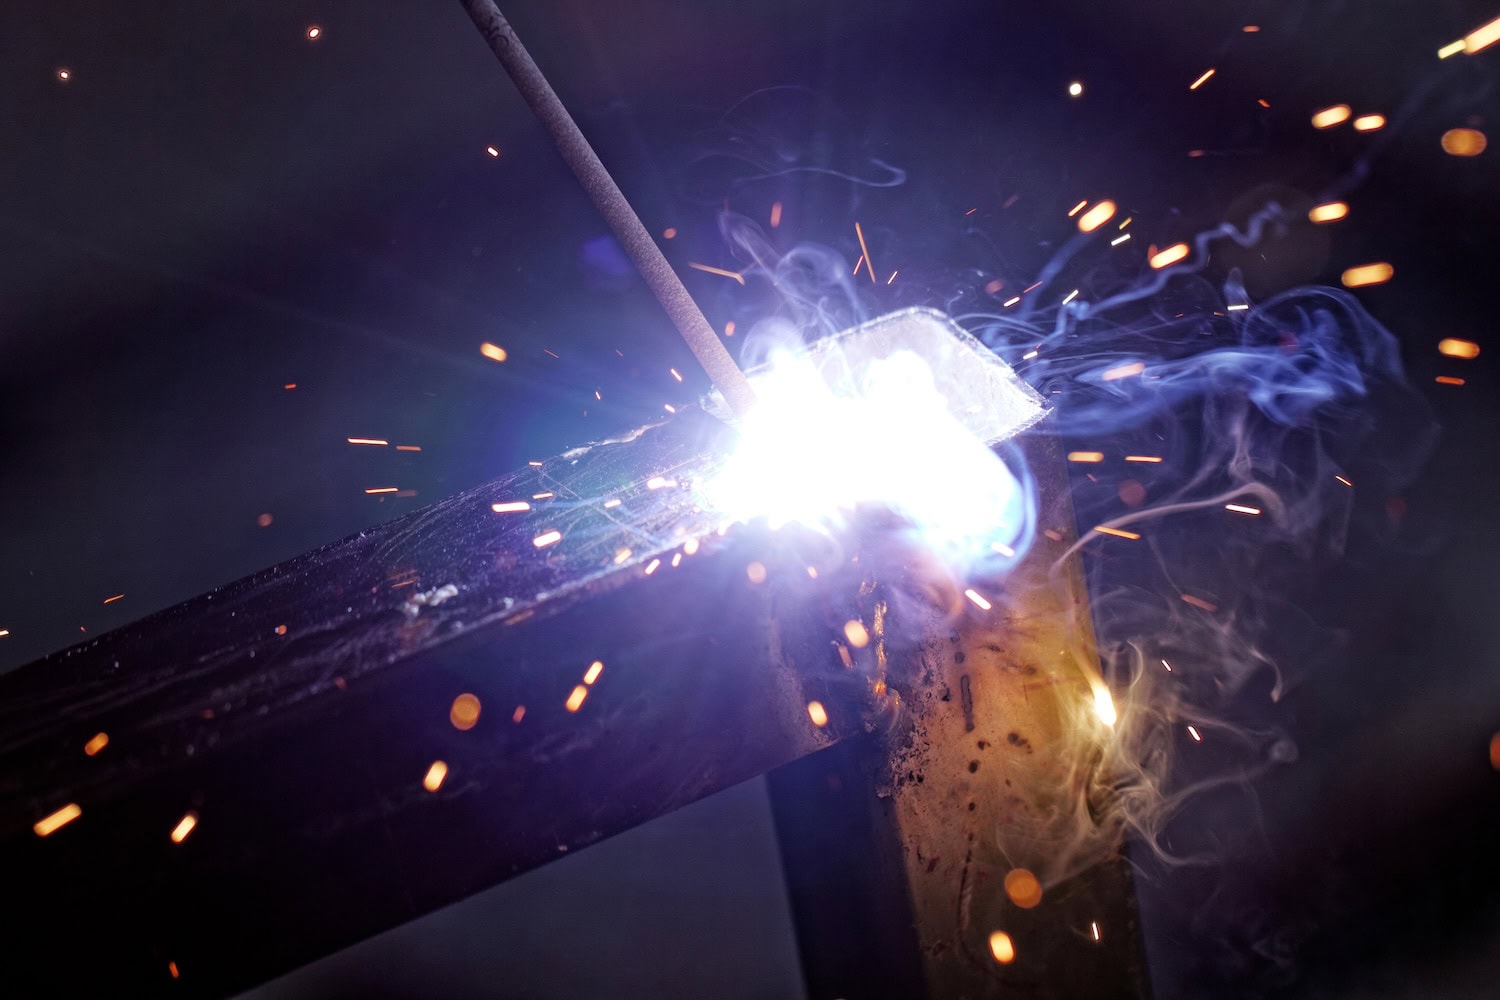
Heat input is simply the amount of energy delivered to the weld per unit of length. It is determined by three variables you are already working with every time you weld: amperage, voltage, and travel speed.
Higher amps and voltage put more energy into the joint. Faster travel speed spreads that energy over a longer distance, reducing the amount deposited in any one spot. The balance between these three factors is your heat input.
Heat input is typically expressed in kilojoules per inch (KJ/in). The basic formula is straightforward:
Heat Input (KJ/in) = (Amps × Volts × 60) / (Travel Speed in inches per minute × 1,000)
You do not need to memorize this. But knowing it exists and how the variables relate to each other helps you understand why changing one setting affects the entire weld.
Why It Matters
Heat input controls the cooling rate of the weld and the heat-affected zone. That cooling rate directly affects the microstructure and mechanical properties of the finished joint.
Too much heat input slows cooling, which can cause grain growth in the weld and HAZ. Larger grain structures typically mean lower toughness and reduced impact resistance. In stainless steels, excessive heat can also reduce corrosion resistance by causing sensitization.
Too little heat input speeds up cooling, which can cause hardening in the HAZ. On carbon steels and alloy steels, fast cooling can produce brittle microstructures like martensite, increasing the risk of hydrogen-assisted cracking.
Heat input also directly affects weld quality in more visible ways. High heat input increases distortion, warping, and residual stress. Low heat input can lead to lack of fusion, incomplete penetration, and undersized welds.
Getting heat input right means finding the range that gives you sound fusion, adequate penetration, and acceptable mechanical properties without overdoing it.
When You Need to Pay Attention to It
For general mild steel fabrication, most welders control heat input instinctively by adjusting their settings and travel speed based on experience. You may never need to calculate a number.
But certain applications and codes require documented heat input control. Pressure vessel work under ASME, structural welding under AWS D1.1, and pipeline welding under API 1104 all treat heat input as a variable that must be qualified and maintained during production. If the welding procedure specification lists a heat input range, you are expected to stay within it.
Heat input control is especially important when welding materials that are sensitive to cooling rate. These include higher-carbon steels, chrome-moly alloys, duplex stainless steels, and any application where impact toughness is a requirement.
How to Control It
You control heat input by managing the same three variables in the formula: amperage, voltage, and travel speed.
- Amperage has the most direct effect. Higher amps mean more energy going into the weld. Use the lowest amperage that still gives you proper fusion and penetration for the joint you are welding.
- Voltage affects arc length and the width of the weld bead. Higher voltage spreads the arc and increases heat input. Keep your voltage within the range specified for your process and wire or electrode size.
- Travel speed is often the easiest variable to adjust on the fly. Moving faster reduces heat input per inch of weld. Moving too slowly dumps extra energy into a concentrated area. A consistent, steady travel speed is one of the simplest ways to keep heat input uniform along the entire joint.
On multipass welds, interpass temperature also matters. Letting the weld cool too much between passes can create the same fast-cooling problems as low heat input. Not letting it cool enough can stack heat and simulate high heat input conditions. Follow your procedure’s interpass temperature limits if they are specified.
A Practical Perspective
You do not need to pull out a calculator for every weld. But understanding how amperage, voltage, and travel speed interact gives you better instincts at the machine. If you are getting cracking, consider whether your heat input is too low and the joint is cooling too fast. If you are seeing excessive distortion or a wide, sloppy bead, you are probably running too hot or too slow.
For coded work, take the time to measure and document your heat input. Record your amps, volts, and time a known length of weld. The math takes thirty seconds and keeps you in compliance.
Questions about heat input, procedure specs, or dialing in your settings? The team at Vern Lewis Welding Supply is always happy to talk shop.
Join Our Newsletter
Sign up for our newsletter to receive specials offers, product updates, and more!
Recent Posts
-

Why Wire Feed Speed Matters in MIG Welding
July 22, 2026
-

-
